Protect Your Car’s Paint in 5 Steps
The low-slung hoods and aerodynamic side mirrors on new cars are extremely vulnerable to paint chips from flying road debris. To protect the car’s paint, dealers apply a thin, clear, rubbery paint film over those surfaces. The film really reduces paint chip damage, but car dealers charge about $400 for it.
You can buy the film online and install it yourself in a few hours for about $120 (or less, depending on the size of the vehicle). It’s not complicated, but it does take practice. So purchase an extra set of film for your mirrors and try it with them first. Once you get the hang of wetting, stretching and squeegeeing the film around your mirror, you’ll find the hood much easier.
I bought a complete Aerogard film kit (film, spray bottles, knife and squeegee) for a 2011 Ford Flex (available from clearmask.com). There are cheaper films, but Aerogard film is a bit stretchier and more forgiving than other brands, so it’s worth paying a little extra. You’ll also need distilled water, isopropyl alcohol and dishwashing detergent to prepare the two spray bottles. Follow the mixing directions exactly (I learned this the hard way).
Start by washing the entire vehicle, using bug and tar remover to get rid of the crud on the hood and mirrors. Then do a final wipe-down with a microfiber towel to remove dust.
Unroll the film on the clean hood (never on the floor) and let it “relax” for at least 15 minutes. Then spray the hood with the detergent solution.
How to apply the protective film to your car’s surface in five simple steps:
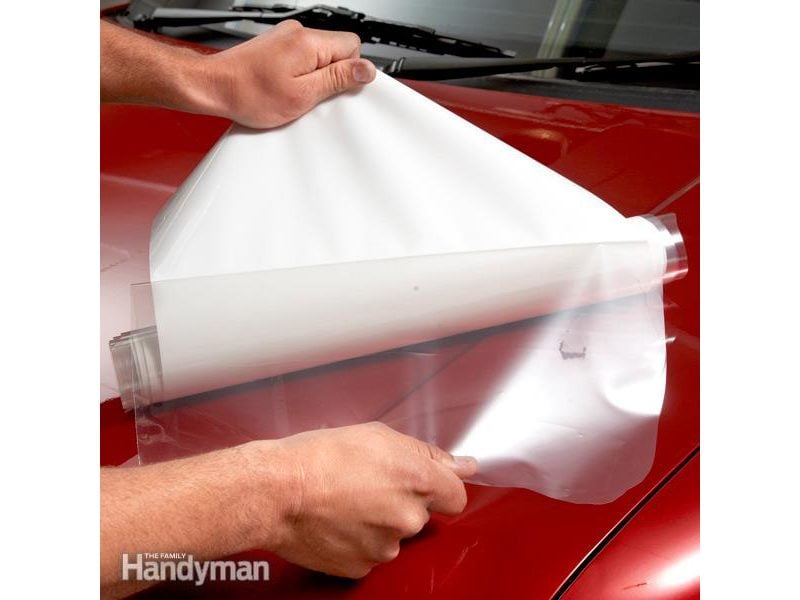
Step 1: Remove the adhesive liner (image above).
Peel the liner partially off the sticky side of the film and immediately spray the adhesive with the detergent solution. Then place the wetted, sticky side down onto the prewetted hood. Remove the rest of the liner and backer sheet and spray the rest of the adhesive.
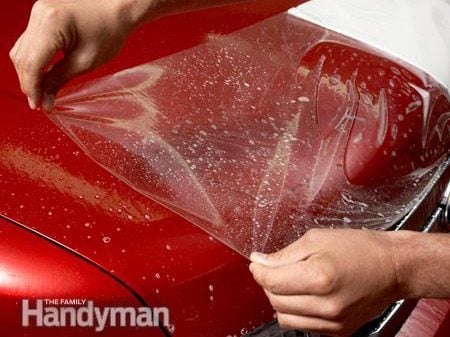
Step 2: Squeegee, pull, squeegee, pull.
Centre the wet film on the wetted hood and squeegee from the center of the hood outward. You can lift the film and retry as many times as you like as long as you rewet it with soapy water. Work out as many water bubbles as you can. If you can’t squeegee the bubbles out, leave them. They’ll disappear on their own over time. Air bubbles, on the other hand, won’t disappear. Pop those with a pin and squeegee the film.
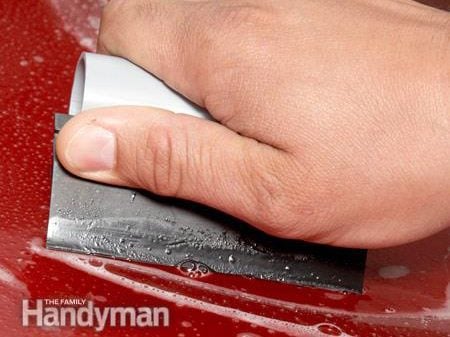
Step 3: Squeegee small sections at a time.
If it won’t stick on curves, lift the film and spray it with the alcohol solution. Then squeegee again.
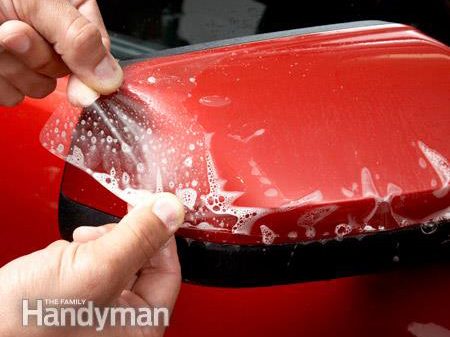
Step 4: Squeegee and stretch around the mirror.
Squeegee the film in place until you get to a wrinkle. Then stretch the film around the curved areas to get rid of the wrinkles.
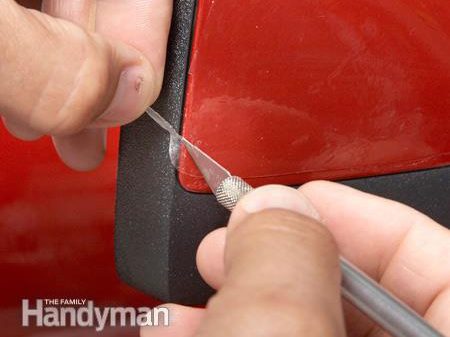
Step 5: Score and peel the excess.
Lightly score the film around the edges and tear along the score line. Don’t try to cut along the painted edge. You’ll damage the paint.
Check out more do-it-yourself car maintenance tips!
Explore Reader’s Digest Canada.