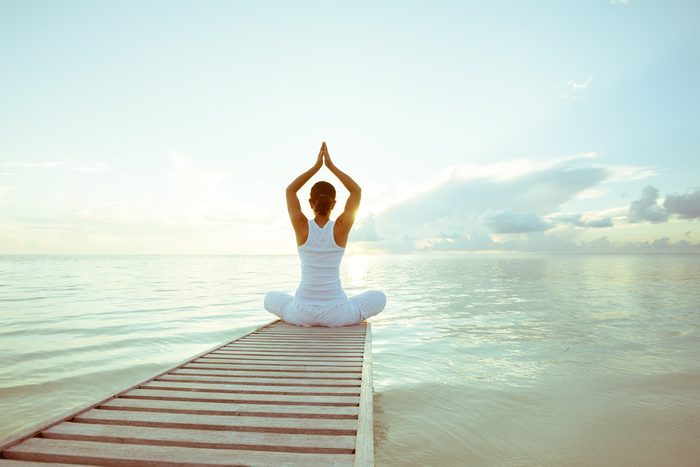
Curious About Yoga?
If you’re curious about yoga, there’s no better place to start than with the Sun Salutation.
(Photo: Thinkstock)
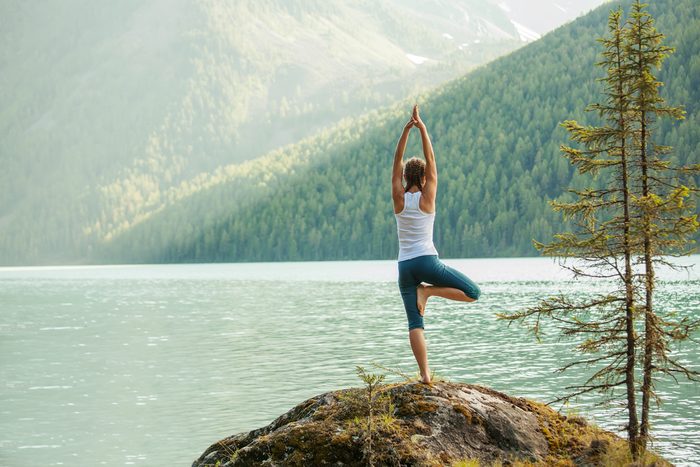
Step 1: Mountain pose
Stand straight with your feet about hip-width apart and your hands either at your sides, or in prayer position, in front of your chest. Raise your toes and spread them wide, then place them back on the floor. Your weight should be distributed evenly across the bottom of each foot so you feel grounded, not leaning forward or back. Exhale.
(Photo: iStock)
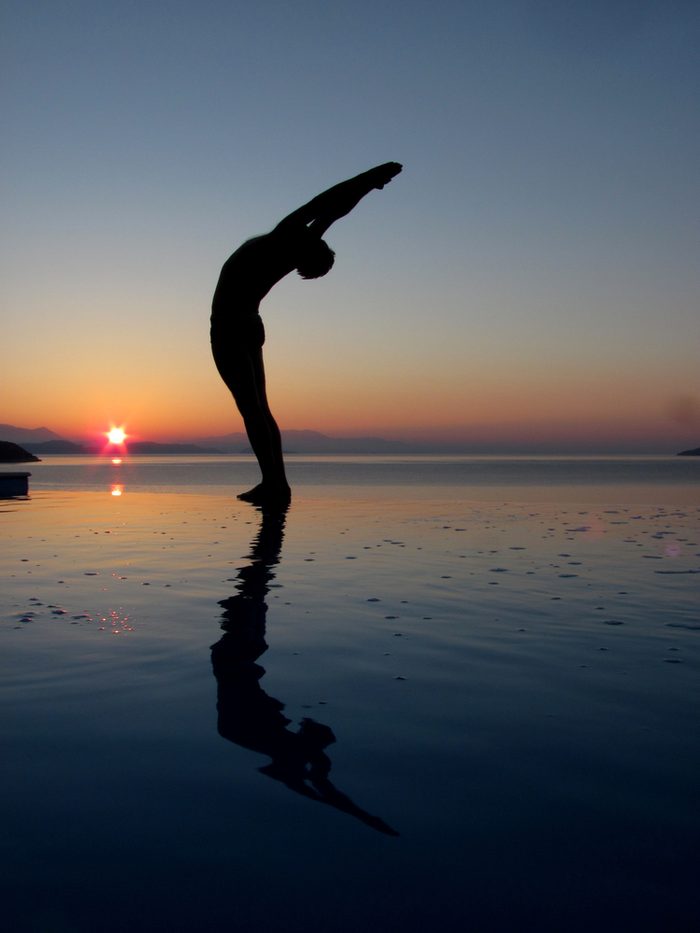
Step 2: Overhead reach
Inhale as you sweep your arms out to the sides and high overhead until your palms are together. Stretch upward, allowing the fullest expansion of your chest, then arch backward and look up at your hands. Retain the position for a few seconds, holding your breath as you keep your eyes focused and your mind silent.
(Photo: iStock)
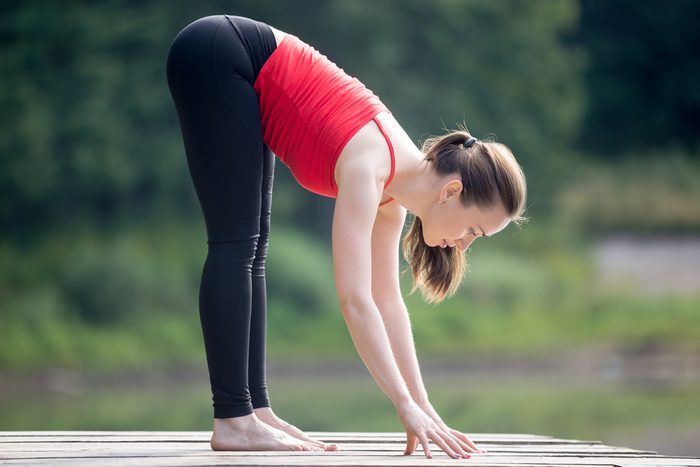
Step 3: Forward fold
Exhale as you gently bend forward from the hips, keeping your palms together, tucking in your head and keeping your back straight and long.
When you’ve bent as far forward as comfortably possible, grasp the back of your legs (anywhere from the ankles to the thighs), bend your elbows and very gently tuck your chin to your chest and move your upper body toward your legs. Hold for a few breaths.
(Photo: iStock)
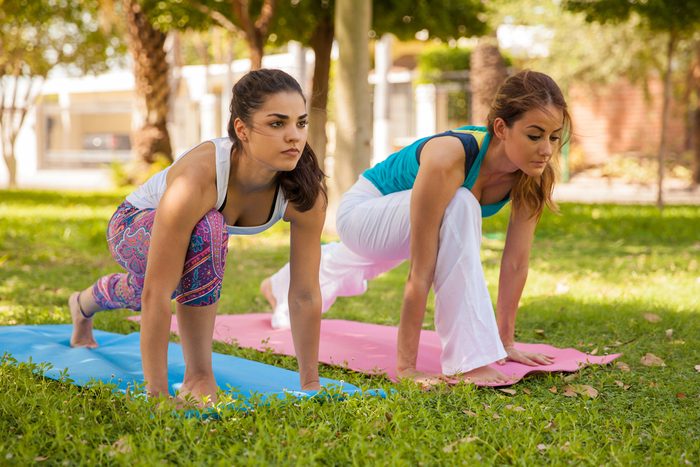
Step 4: High lunge
Step forward with your right foot into a lunge, bending your right knee and keeping it directly over your right ankle (you may need to slide your left foot back farther). Lean forward and press your fingertips or palms into the floor in line with your forward foot. Roll your shoulders back and down and press your chest forward while looking straight ahead.
Relax your hips and let them sink toward the floor while straightening your back leg as much as comfortably possible. Hold for a few breaths.
If it’s difficult to reach the floor with your hands in this position, place books on either side of you and support your weight with your hands on the books. You may also rest your back knee on the floor if necessary.
(Photo: iStock)
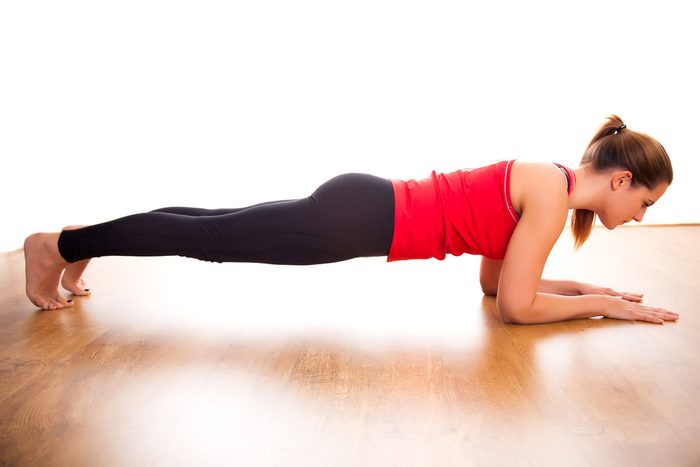
Step 5: Plank
Move your right foot back next to left foot and straighten your body into the plank position. Spread your fingers wide so your middle fingers are pointing forward. Your hands should be on the floor directly beneath your shoulders, and you should look as if you’re in a push-up position.
Tuck in your tailbone so your legs, hips and torso form a straight line. Push the crown of your head forward, tuck your toes and press your heels back, stretching down the entire length of the back of your body. Hold for a few breaths.
If this is too difficult, perform the move while resting on your knees instead of your toes.
(Photo: iStock)
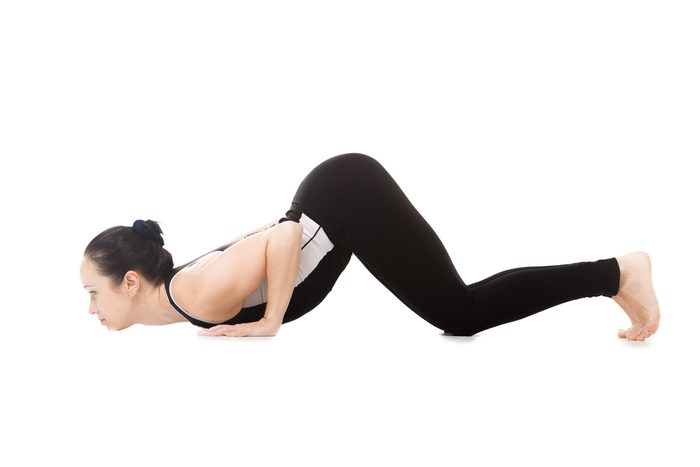
Step 6: Caterpillar
Bend both knees to the floor (if they’re not already there), then slowly lower your chin and chest straight down to the floor. Keep your elbows close to your body as you lower your chest between your palms and lift your tailbone toward the ceiling. Hold for a breath.
(Photo: iStock)
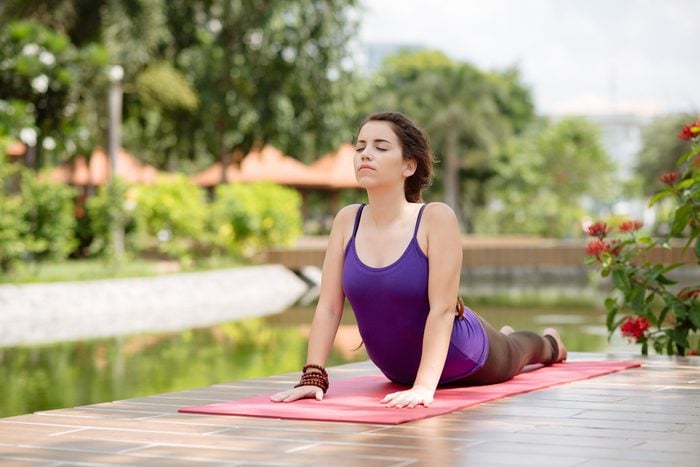
Step 7: Cobra
Drop your hips to the floor. Raise your head and chest so your torso is supported on your forearms (if you are very flexible, you can extend your arms). Keep your shoulders down and back, pressing your chest forward and reaching toward the ceiling with the crown of your head. Hold for a few breaths.
(Photo: iStock)
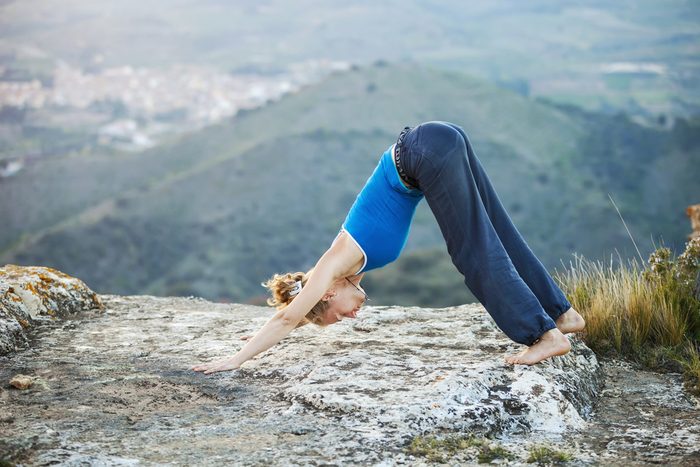
Step 8: Downward-facing dog
Press your palms into the floor, straighten your arms and legs, and push your hips up so your body forms an inverted V. Let your head and neck hang freely from your shoulders or tuck your chin to your chest, if that’s more comfortable. Press your heels toward the floor while pushing your hips toward the ceiling for a full stretch.
To make this position easier, keep your knees bent instead of straightening your legs. You can also place your hands on a low step. Hold for a few breaths.
(Photo: iStock)
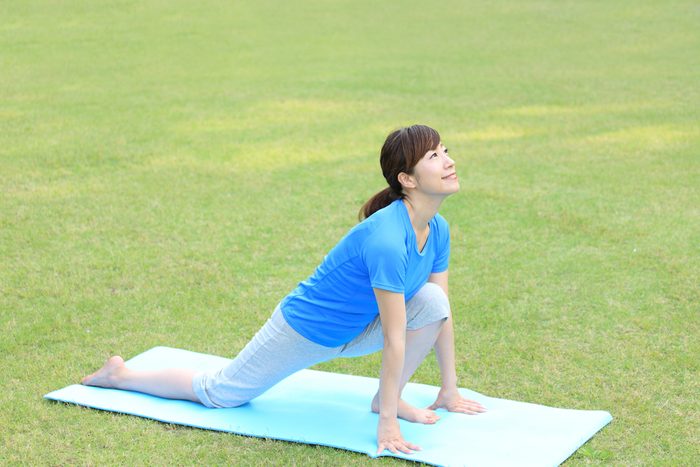
Step 9: High Lunge 2
Step forward with your left foot. Position yourself so your left knee is directly over your left ankle and your right leg is extended behind you. Support your weight by placing your palms or fingertips on the floor in line with your left foot. (Again, if you find it hard to reach the floor, place books under your hands.) Roll your shoulders down and back and press your chest forward, looking straight ahead.
Relax your hips and let them sink toward the floor while straightening your back leg as much as comfortably possible (if flexibility is a problem, rest your back knee on the floor). Hold for a few breaths.
(Photo: iStock)
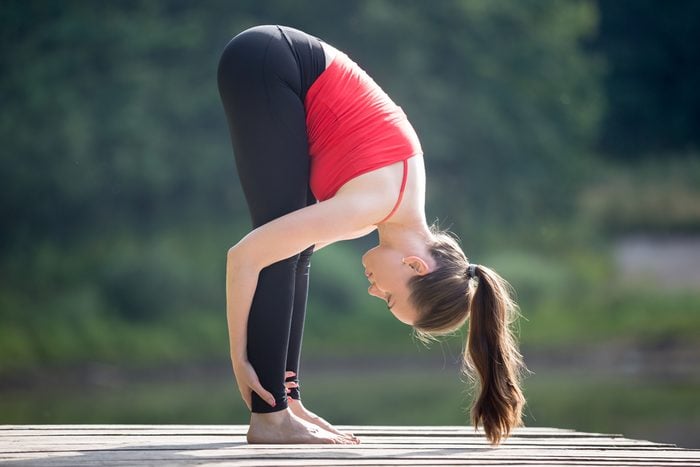
Step 10: Forward Fold 2
Bring your right foot forward to meet your left. Gently straighten your legs as much as comfortably possible, letting your hands rise off the floor as necessary. Grasp the back of your legs (anywhere from your ankles to your thighs), bend your elbows, and very gently tuck your chin to your chest and move your upper body toward your legs. Hold for a few breaths.
(Photo: iStock)
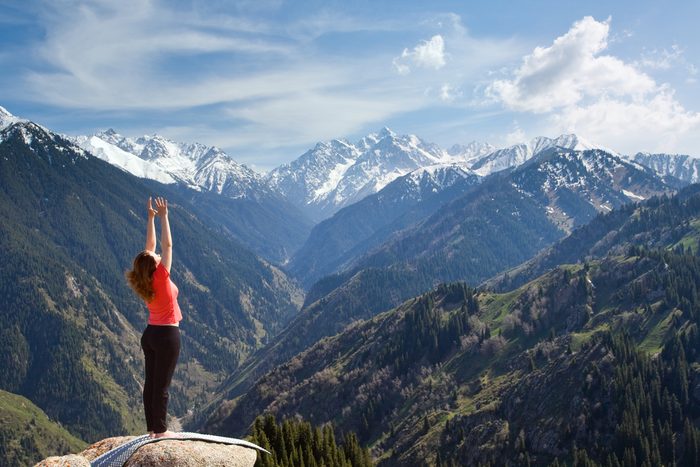
Step 11: Upward sweep
Sweep your arms out to the sides and overhead, stretching them up and back as you expand your chest. Place your palms together and look up toward your hands. Press your feet into the floor and contract your thighs to gently lift your kneecaps upward (without locking your knees). Hold for a few breaths.
(Photo: iStock)
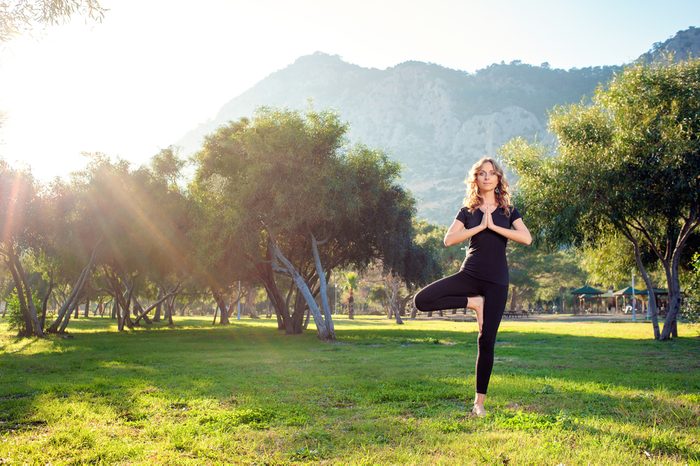
Step 12: Mountain return
Sweep your arms out to the sides and down, bringing your palms together in front of your chest. As in Step 1, stand straight with your feet hip-width apart. Raise your toes and spread them wide, then place them back on the floor so your weight is evenly distributed.
Contract your thighs, pulling your kneecaps up and tucking your tailbone so it points straight toward the floor. Lift the crown of your head toward the ceiling, feeling your spine grow long and straight. Drop your shoulders down and back and gently push your chest forward. Hold for a few breaths, then repeat the cycle, this time initiating moves with the other leg.
(Photo: iStock)