Whether you burn dinner completely or your pans get dirtier and dirtier over time, eventually you’ll need to have a scouring session at the sink. And for this, the quicker the better! For this reason, we put five methods for cleaning a scorched skillet to the test.
Keep reading to learn how to clean a burnt pan—and see what methods are most effective!
The Testing Method
In an effort to make sure this guide gives you the most accurate results, we put some parameters in place for this skillet scrubbing experiment. All pans tested were made of stainless steel and scorched with the same combination of foods—cheese, eggs and grape jelly.
If the method recommended soaking, we allowed each pan to soak for up to 15 minutes, checking at intervals of 5 minutes and documenting when the charred remains began to lift with ease. We also limited any extra “active scrubbing” to 10 minutes because honestly, who wants to scrub a pan for longer than that?!
All of our “after” photos show what this method achieved within these limits. (Don’t miss this checklist for a sparkling clean kitchen!)
Ratings
Each method is rated on a scale of 1 to 5. Ratings were awarded based on how long each technique took to work its magic, how much extra elbow grease was required to remove the burnt-on food and the overall effectiveness in the cleaning process in terms of how much mess remained on the skillet after cleaning within our set parameters.
Cleaning Techniques for Greasy Skillets
Warning: Before cleaning your pans, test the method on a small, inconspicuous portion to ensure it won’t damage the surface. The methods below are intended for stainless steel cookware and not those with nonstick coatings.
5 Methods for Cleaning a Burnt Pan
Method 1: Baking Soda + Vinegar
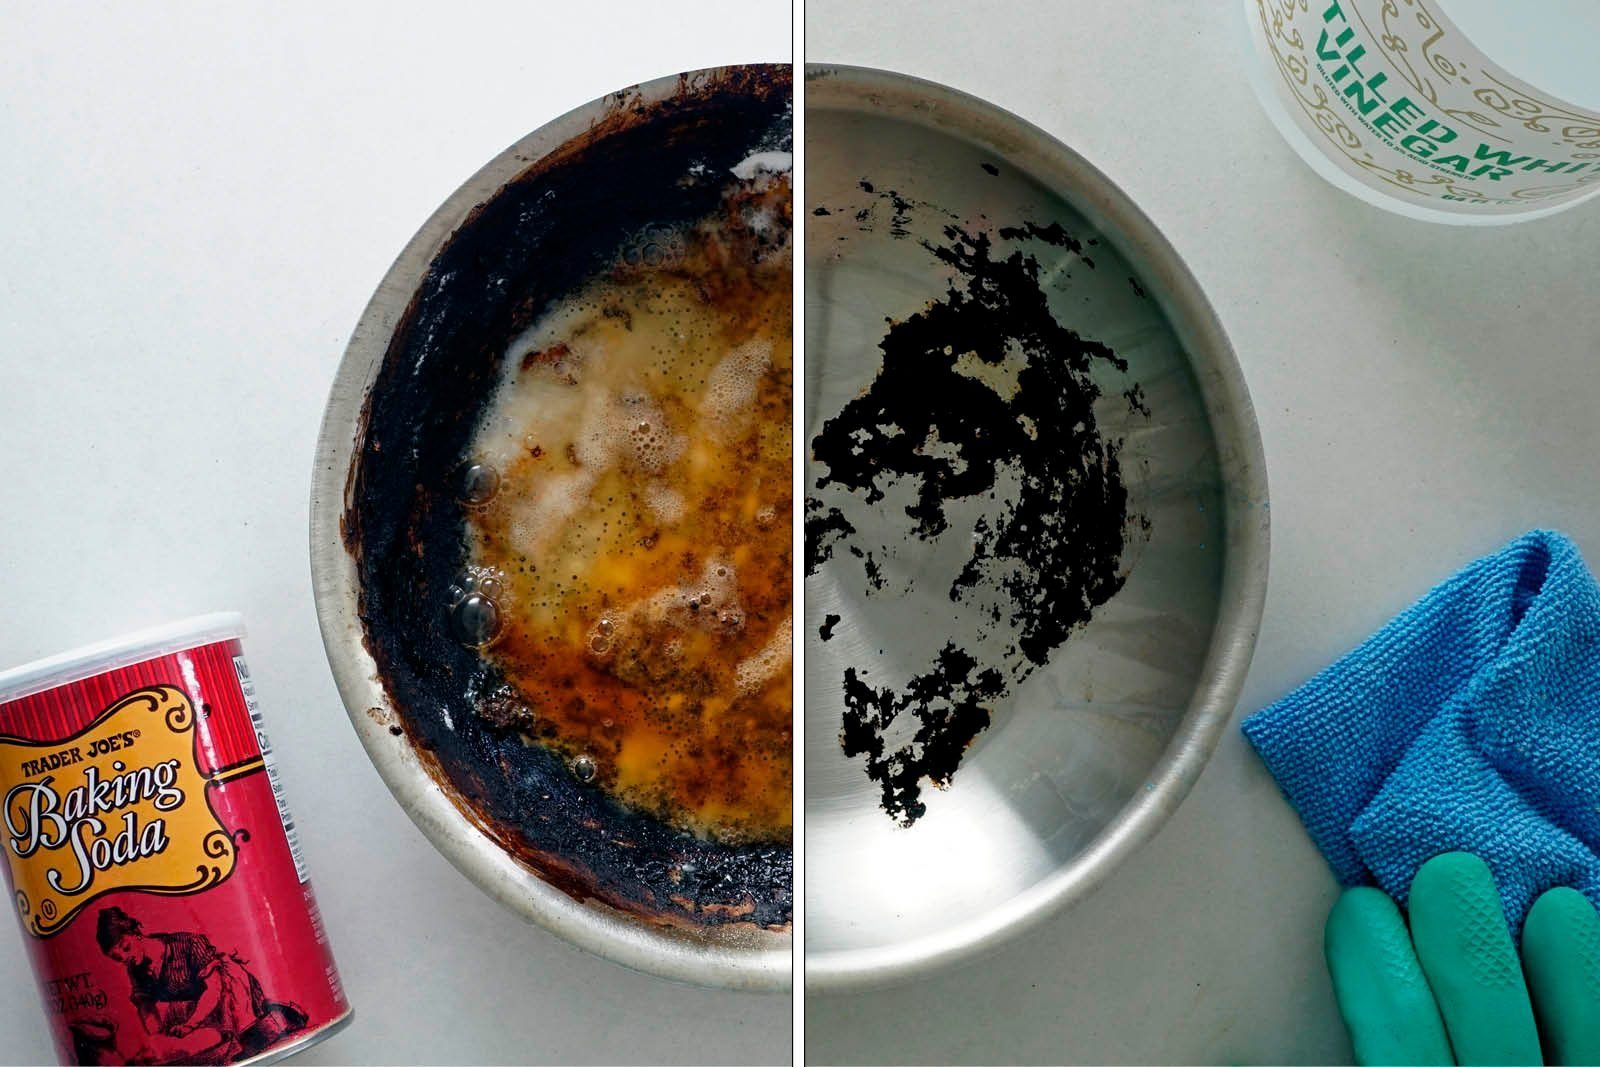
Benefits: This method uses affordable pantry items most people have on hand.
How It Works: Fill your dirty pan with equal part water and vinegar. Bring the mixture to a boil and then add 2 tablespoons of baking soda. Remove from heat and let soak for up to 15 minutes. Discard the liquid down your drain and then use a sponge or scouring pad to scrub away any remaining burnt-on bits. If spots remain, apply a paste made of baking soda mixed with a little water and let sit for a few minutes before scrubbing again.
What Happened: We had high hopes for this method because it fared well when testing the best methods for cleaning baking sheets. After just 5 minutes of soaking, we noticed some charred bits starting to float to the surface! However, we opted to let this one continue to soak for the full 15 minutes since it seemed some stubborn bits were holding fast. After rinsing and 10 minutes of heavy scrubbing with a scouring pad we were able to lift most of the charred, burnt-on food. A follow-up application of baking soda paste was definitely needed and further scrubbing was essential to lift the remaining debris.
Rating: 3/5
Method 2: Lemons
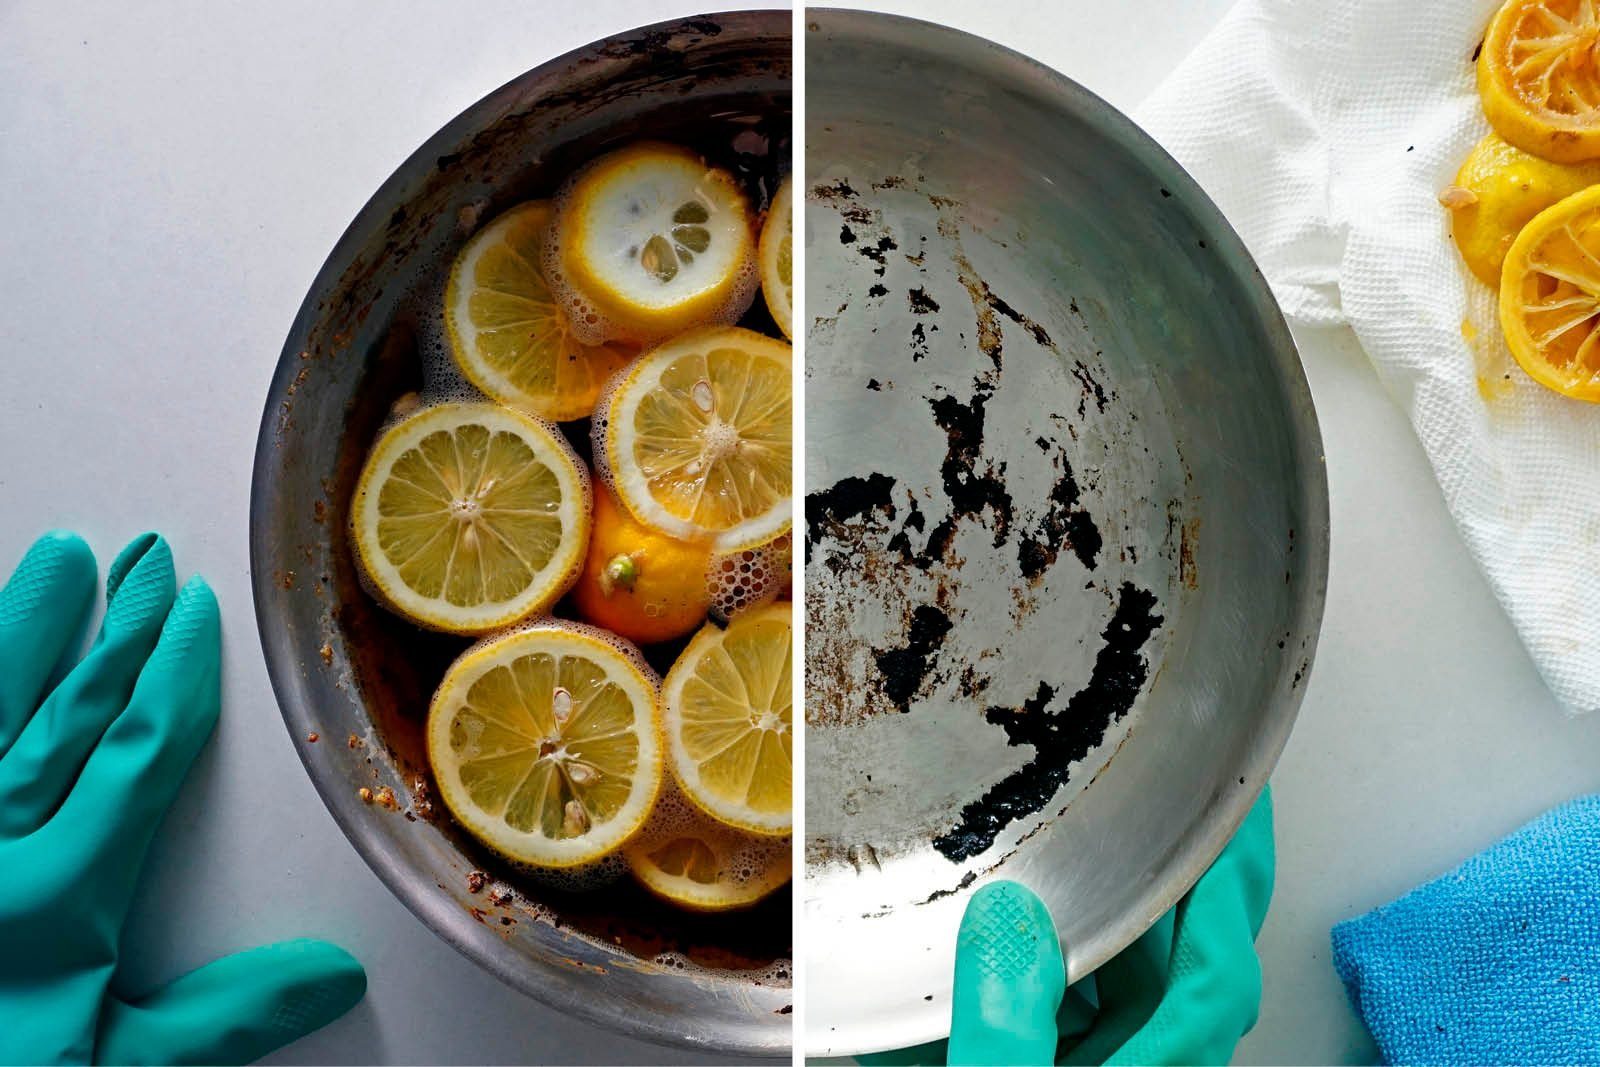
Benefits: This is a great natural cleaning method that doesn’t require any harsh chemicals.
How It Works: Slice 2-3 lemons and arrange them in your dirty pan. Place the pan over medium-high heat and fill with enough water to just barely cover the lemons. Bring the lemon water to a boil for 5-8 minutes and then remove the pan from the heat. You’ll know the pan is ready for a final scrub when you start to see food particles floating to the surface of the water. Discard the lemons and drain the water. Rinse with hot, clean water and use a scouring pad or brush to loosen and remove any stuck-on bits. (Here are 25+ cleaning hacks for hard-to-remove stuff.)
What Happened: This was our least favourite method. While we can appreciate the all-natural approach, it wasn’t as effective for us compared to the other methods we tested. It required quite a bit of heavy-duty scrubbing in hot water to make any real impact on the debris. We think some classic Dawn dish soap would have been just as effective and you wouldn’t have wasted two perfectly good lemons in the process.
Rating: 2/5
Method 3: Bar Keepers Friend

Benefits: This stuff works its magic fast and is a cleaning product you can use on a variety of other surfaces in your home. Made of oxalic acid, Bar Keepers Friend is acidic like vinegar or lemon juice—but much stronger.
How It Works: Run your dirty pan under hot water and drain. Then, wearing rubber gloves, make a paste by rubbing a few tablespoons of Bar Keepers together with the residual water in your dirty pan. Spread the paste over the burnt debris in your pan and let it sit for 60 seconds. Don’t let it sit any longer—this stuff means business. After 60 seconds, rinse your pan thoroughly with hot water and then use a sponge, brush or scouring pad to scrub away the loosened burnt-on food. Repeat this process, if needed, for any stubborn spots.
What Happened: Bar Keepers is one of our favourite cleaning products for the whole home. We had high expectations for this method and it delivered. We were impressed by what we were able to remove after a quick 60-second soak and 10 minutes of scrubbing. The toughest spots were able to be lifted completely with a quick follow-up application and another 2 minutes of scrubbing with a scouring pad.
Rating: 4/5
Method 4: Aluminum Foil + Baking Soda
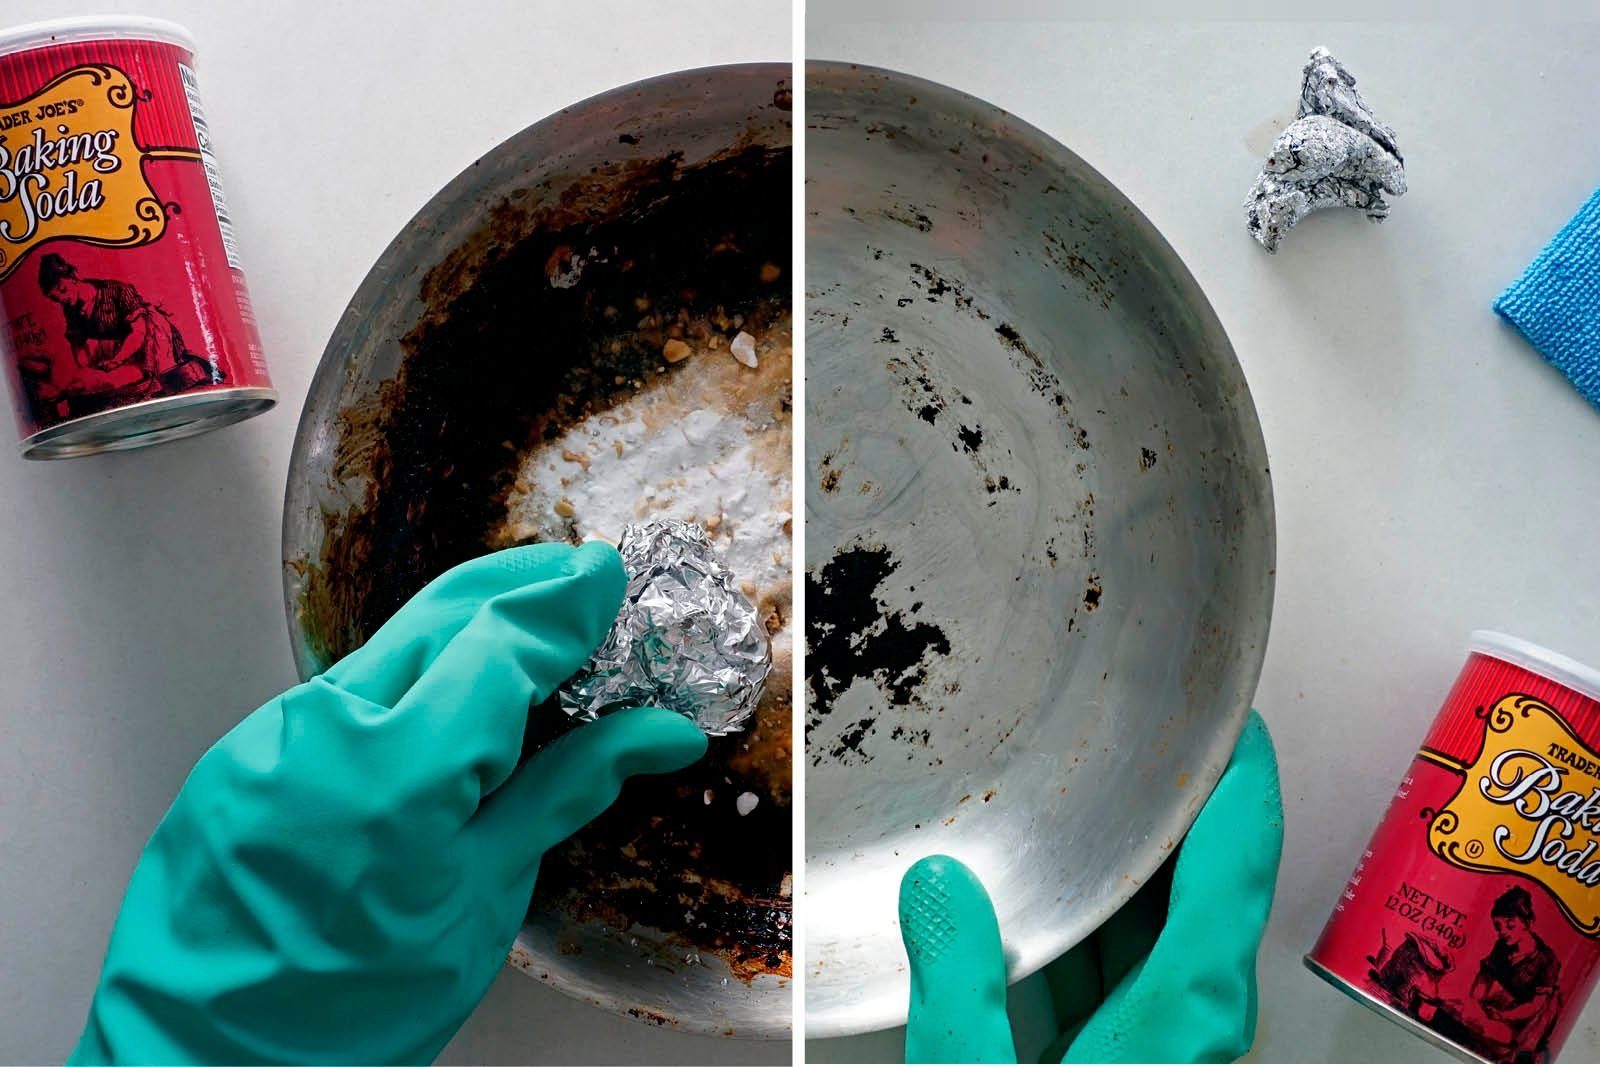
Benefits: Not just for covering leftovers, aluminum foil is also a pretty effective cleaning tool that’s likely in your cupboard already.
How It Works: Rinse your dirty pot in hot water and drain. Then, sprinkle generously with 2 tablespoons of baking soda. Add a few teaspoons of hot water back to your pan to form a paste with the baking soda and then begin scrubbing with a golf ball-sized piece of crumpled foil. Continue scrubbing until all of the burnt debris lifts and then rinse with hot soapy water to finish cleaning.
What Happened: This method yielded pretty great results for us. While a small touch-up with additional baking soda was necessary after an initial scrub, we were impressed by how well the foil really dug away the grime. Ultimately this method is like the “deluxe” version of the baking soda + vinegar method we outlined previously. It works just as well but faster and more effectively thanks to the addition of the foil for enhanced scrubbing power.
Rating: 4/5
Method 5: Dishwasher Tablet
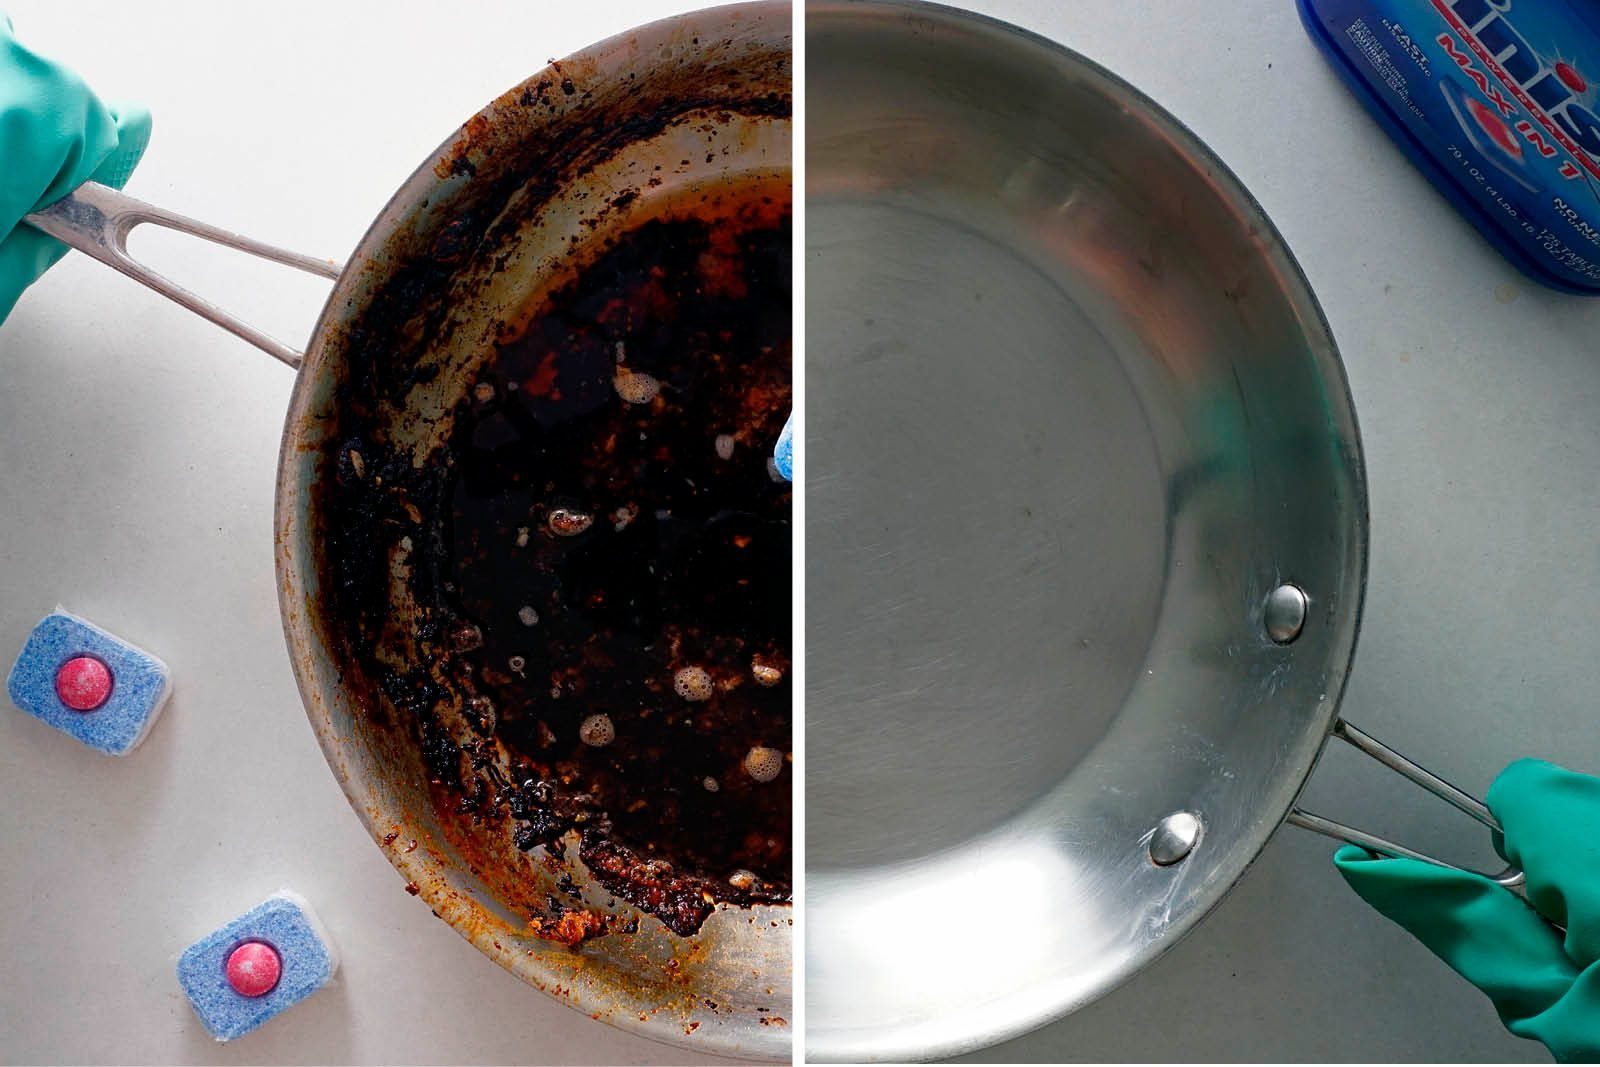
Benefits: If you own a dishwasher, you likely already have a bucket of these on hand.
How It Works: Grab a dishwasher tab from your container and rinse your dirty pan with hot water. Then, begin to gently scrub the pan under warm water with the dishwasher tab. Scrub until all the food debris lifts, and then rinse with warm water.
What Happened: We couldn’t believe how well this method worked! In less than 5 minutes we had a perfectly clean pan that required no follow-up scrubbing with alternative methods. We used Finish Powerball Deep Clean Tabs and found it worked best to leave the plastic coating on the tabs when scrubbing. The warm water will gradually dissolve the tab as you scrub and help the tablet keep its shape rather than crumble immediately between your fingers. The only downside to this method is that we did use two whole dishwasher tablets to clean one nasty pan. Therefore, this method could get pricey. However, it’s so effective, we feel it is well worth the expense. Psst! You can also use dishwasher tablets to clean your oven.
Rating: 5/5
Summary of Results
While all of these methods are effective at scrubbing away the nasties on your skillets, the dishwasher tablets were the undeniable winner in our opinion. While we can’t vouch for other brands of dishwasher tablets, we expect they would be equally effective in lifting grease and burnt-on food.
While the dishwasher tablet was our favourite standalone method, we think the others are all great options—especially Bar Keepers Friend and aluminum foil + baking soda—to use if you’re OK taking a little extra time to get the job done or are willing to use some extra elbow grease.
Next, check out this viral trick to make your pots and pans look brand new.


For a man raised in a patriarchal culture, my father loved to cook for his family. We lived in Uganda and, later, in Kenya for about two years as refugees. Since we didn’t have an indoor kitchen, he would light a fire outside of our home. He’d cook sukuma wiki, a dish of collard greens, onions and tomatoes, and serve it with ugali, a porridge made of cornmeal and water. We ate this in the refugee camp, and it remains one of my favourite meals.
My mother left our family when I was five—war has the power to come between a mother and her children. I never met my father’s mother, or jaaja in the Luganda language. But if my dad’s cooking took after that of my jaaja, she was phenomenal.
My father didn’t cook often—we ate once a day and other family or community members would feed us. But when he did, it was worth the wait. If he started making dinner at 4 p.m., you wouldn’t expect to eat until at least 10 p.m. He liked to take his time, cutting ingredients into pieces so tiny that the onion was practically puréed. He also loved his pili pili peppers: tiny red and green chilies he would munch on at every meal. The smell of his cooking would overpower our home, including the one in London, Ont., where we moved to in the mid-1980s, when I was 10 years old.
With his friends, my father was the life of the party—he would host get-togethers that would go into the early hours of the morning. I washed dishes, enthralled with the loudness of the adults and how happy they all seemed. Looking back, that joy was what freedom felt like. Their dancing revealed a vulnerability that wasn’t afforded to them during the war. When my father was cooking, he was happy. But if he wasn’t, he could be unpredictable. I often felt like he resented my presence.
I left home when I was 16, and from then on, I lived on my own in London before moving to Toronto. I really only knew how to make pancakes and scrambled eggs because in our family, I was responsible for making breakfast on weekends. My father would say that his mom taught him how to cook because she didn’t want him to rely on anyone to take care of him. But he never passed on the same knowledge to me.
The woman who sponsored us to come to Canada, whom I’ve since called granny, turned the kitchen into a place of love. When we left refugee housing, she moved us next door to her house, and we lived there for about three years. On Sundays, she would make potato stew, cheesecake and lemon meringue pie. We would listen to Louis Armstrong and watch movies in her basement. She knew me better than I knew myself.
From my mid-teens to early 20s, I lived on a steady diet of ramen noodles and pasta with canned sauces. Cooking at that time in my life was perfunctory; cleaning the toilet brought me more joy. Being in the kitchen made me miss my granny and reminded me of the loss of my mother, who is still alive.
Unlike many things in my life, not knowing how to cook wasn’t something I could gloss over or joke away. So I avoided thinking about it. It was only when I had kids in my 30s that I realized I had to learn.
I’d listen to a friend tell me in detail how she made puréed baby food from scratch, while I fed the jarred stuff to my toddler. I watched in awe as another friend baked cookies for parent-teacher nights. I’m a resourceful person, but not knowing how to cook for my kids made me feel stuck and guilty.
The time I spent in the kitchen only clarified what I lacked. Should the pot be hot when I add the onions? Should the butter be room temperature? Should I use baking powder or baking soda? The absence of family recipes, secrets passed down the line, was a reminder that elders are missing from my life.
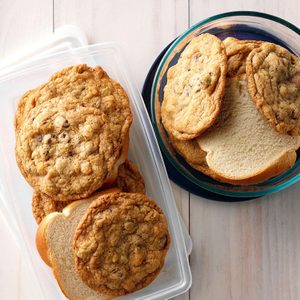
When my son was around two, I realized I had to feed him solids. I took to Google in search of “easy” recipes and also sought out inspiration on Instagram. I looked for reassurance that with time and patience, I could do it. There have been failures—I once baked chocolate chip cookies so hard they chipped my daughter’s tooth—but I keep trying. And in learning to be comfortable with what I don’t know, I’m realizing that the things that make me feel as though I can’t cook don’t have to be true forever.
Once my kids were ready for full meals, I tried to recreate my father’s stewed chicken, one of his favourites. The dish includes minced onions, tomatoes, salt and curry served with white rice and a salad of tomatoes, onions, lemon juice and cilantro. I would fry the chicken separately first and then add the rest of it into one pot with water. That handful of ingredients connects me to a simpler story of family, one that I imagine was the same for my father when his mother, my jaaja, was still alive.
And then last year, the pandemic lockdown pushed me into the kitchen not just out of necessity but also curiosity. What began as an activity to pass time with my kids, like trying out different recipes and making vanilla cupcakes, has become a slow peeling away of the conviction that I can’t learn to cook.
One afternoon, I surprised myself when I made a loaf of bread. Yes, I used the wrong type of yeast and the dough rose to an incredible height, but it baked into a crispy exterior with an inside as soft as any bread I’d bought from a bakery. And then I finally made a batch of cookies that didn’t hurt my daughter’s teeth.
Standing in my kitchen can be daunting, but I remind myself that those feelings are just a beginning, a place to create cooking traditions of my own that I can pass on to my children. As I stand at the stove, I know the story doesn’t end with me.
Next, learn about the Toronto charity that feeds thousands with surplus restaurant food.
© 2020, Namugenyi Kiwanuka. From “Finding Joy in the Discomfort of Cooking,” Chatelaine (September 14, 2020), chatelaine.com

For some, the arrival of spring means sunnier days, buying new seeds and the arrival of produce like asparagus. For others, the changing of seasons means an opportunity to clean the house from top to bottom. It’s called spring cleaning, after all!
A great place to start is our complete room-by-room spring cleaning checklist. And thanks to TikTok, we have a slew of new-to-us cleaning hacks we can’t wait to put to good use.
4 Spring Cleaning Hacks That Will Make Chores a Breeze
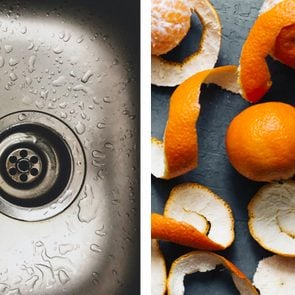
Fix a Stinky Kitchen Sink
If your sinks need freshening up, it’s a snap to get them sparkling clean and smelling nice, according to @beautycaboodle. All you have to do is sprinkle baking soda over the drain, add a few drops of your favourite essential oil, then splash in white vinegar. Allow the mixture to fizz and bubble for a bit and then run hot water. It’s like magic! (Check out more brilliant baking soda hacks.)
@beautycaboodleClean sink hack. No more stinky drains. #cleaningtiktok #springcleaning #cleaninghacks #lifehacks #nowyouknow♬ original sound – Janice
Dust Your Ceiling Fan
If your ceiling fan needs cleaning, you might reach for a feather duster to get the grime off. But then you run the risk of brushing all the dust off onto your bed or furniture. An easy solution from @stephanieboothrealtor is to use pillowcases to cover the individual blades and wipe them off. (Find out more clever ways to put pillowcases to work all around the house.)
@stephanieboothrealtorCeiling fan cleaning hack #WerkItFromHome #cleaninghacks #homehacks #cleaningtips #realtortips #housecleaningtips♬ Blue Blood – Heinz Kiessling & Various Artists
Clean the Blinds
It’s also easy to overlook the little areas that accumulate dust, like blinds. According to @simplisticallyliving, all you need is a set of kitchen tongs with a pair of socks placed on them to grip and clean each individual blind. (Here are more kitchen tong uses you’ll wish you knew sooner.) If you’re a confused, check out the video demonstration:
@simplisticallylivingSpring Cleaning Hack! #fyp #lifehack #springclean #cleaninghack #cleaningtips #blinds #dusting #learnontikotok♬ Ultimate life hacks – Kelly – The Life Bath
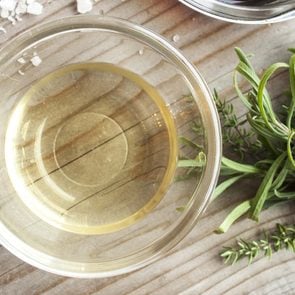
Steam Clean the Microwave
Bonus hack from @mama_mila_: You can microwave a cup of water mixed with dish detergent for a few minutes and the steam will soften up all the built-up gunk for easy cleaning. Are you inspired yet?
@mama_mila_No more scrubbing 🙌 #tipsandtricks #homeproject #homeroutine #homehacks #springcleaning #momsoftiktok #cleanhome #wipeitdown
Next, find out 45 spring cleaning tips that will save you time, money and effort.