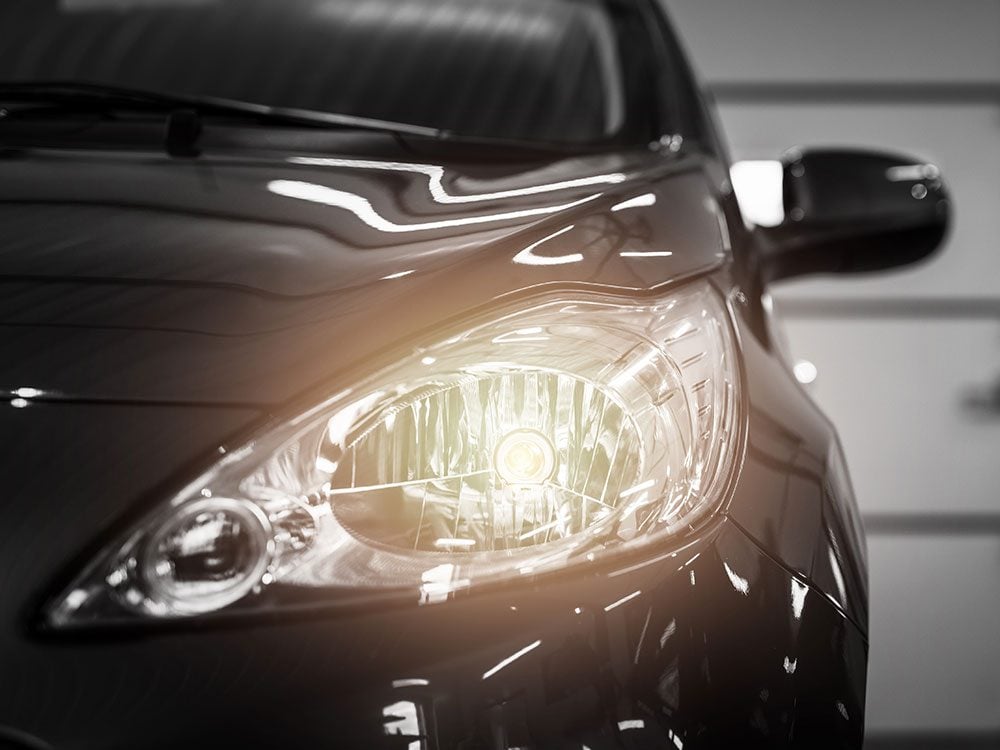
Got Cloudy Headlights? Here Are Your Options
Road grit and the sun’s UV rays can really do a number on your headlights. The grit literally blasts off the factory-applied protective coating, and the sun takes care of whatever coating is left. Then the lenses cloud over, dramatically reducing the amount of light they project. You’ve got two choices to see clearly again: You can either restore the old headlights with a restoration kit and a spare hour, or spend $40 to $250 each on new headlights. Tough choice, huh?
Read on for do-it-yourself tips on how to clean cloudy headlights.
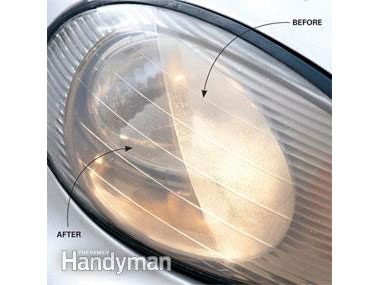
Before You Begin: Are Your Headlights Frosty on the Outside?
But before you buy a headlight cleaning kit, make sure the cloudiness is on the outside of the lens. If you see moisture droplets on the inside of the lens or hairline cracks, the problem is on the inside and the headlight can’t be restored. Buy a replacement at the dealer, auto parts store or an online source. You might consider these headlight upgrades for better style, safety and performance.
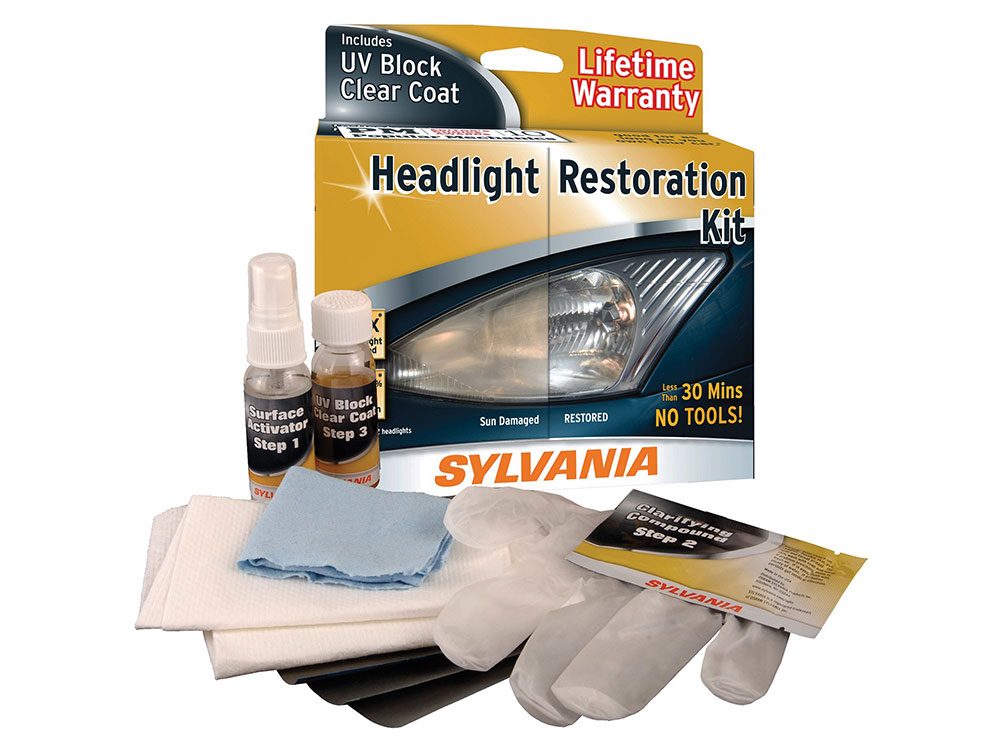
Buy a Headlight Restoration Kit
We used a $35 headlight restoration kit from Sylvania to show you how to clean your headlights. All headlight restoration kits include sandpaper and polishing compound, and they all do a decent job. But the better kits also include a bottle of clear coat remover solution and new UV-blocking clear coat. That makes the job go faster and the results last longer.
Decided to buy new headlights altogether? Here are expert tips on how to replace headlights.
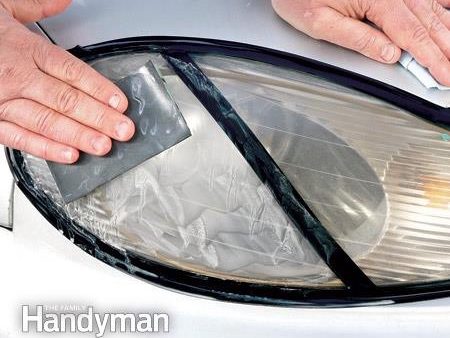
Apply Some Elbow Grease
Start by masking off the areas around the headlight to prevent paint damage. Then apply the “activator” solution to soften any remaining clear coat. Wipe the lens clean. Next, wet-sand the lens in a circular pattern with medium pressure, starting with the coarsest sandpaper, and work your way to the finest grit. Re-wet the lens frequently with clear water.
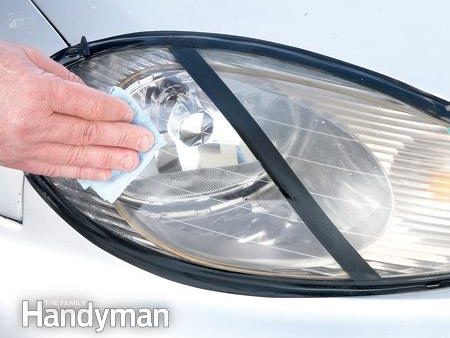
Apply the Final Touch—A New Clear Coat
Clean off all the polishing compound and make sure the headlight lens is dry before you apply the new clear coat. Wipe on the clear coat and let it dry for four to six hours before driving. Next, check out these tips for installing custom headlights.