How to Fix a Seized Engine

Sitting idle can cause an engine to seize. Learn how to free it and get your vehicle running again.
An engine can seize due to running on low/no oil, overheating or succumbing to a broken timing belt. These conditions eventually stop your engine in its tracks and a professional technician will be required to restore function. However, if an engine seizes due to rusted cylinder walls, you can restart the engine without professional help.
This is how rusted cylinder walls develop: When a vehicle sits for an extended period of time without running, the lubricant coating the cylinder walls thins and drains away due to gravity. Shutting down a vehicle always leaves some of the intake valves open on some of the cylinders. This allows moisture-laden air from the environment to circulate through the engine’s air intake, progress through to the cylinder head, and cause condensation on the cylinder walls, piston surface and rings.
Left long enough, that condensation causes rust that can freeze the pistons in place, causing a seized engine. If you suspect that this is the case for your vehicle, this is how to fix a seized engine.
What you’ll need to fix a seized engine:
- Breaker bar
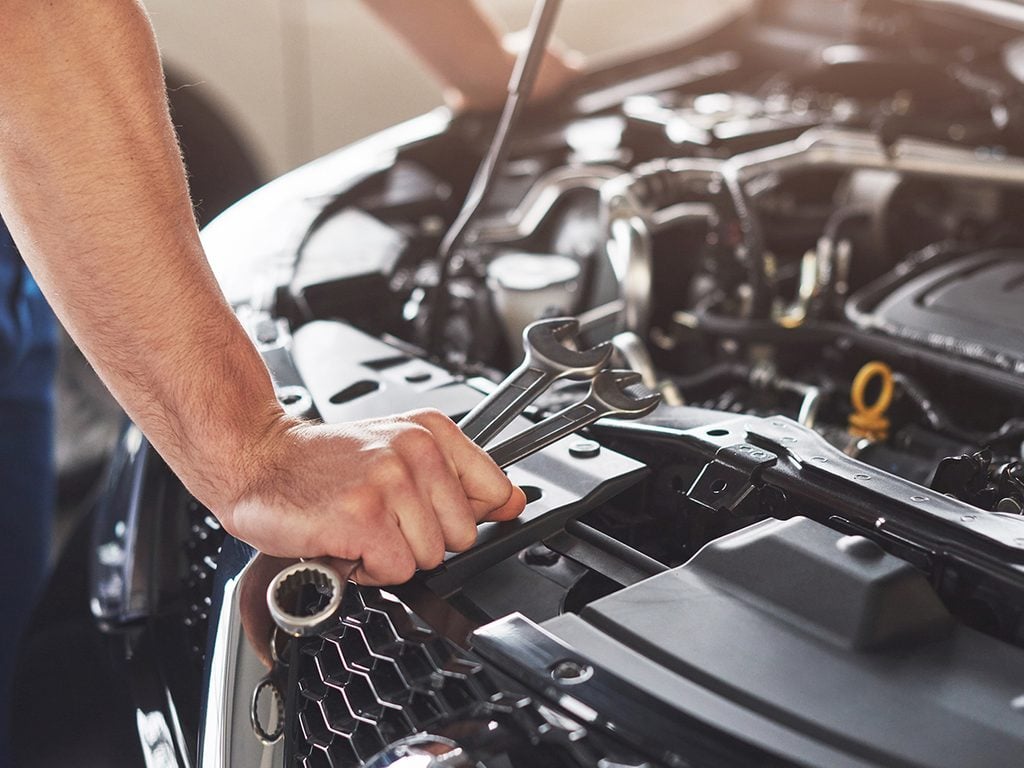
- Combination wrench set
- Screwdrivers (Phillips and standard)
- Socket set (Here are more tools every home mechanic needs.)
- Gasket sealant
- Masking tape and a pen
- Penetrating oil
- Replacement gaskets
How to fix a seized engine: Step by step instructions
Step 1: Disconnect accessories
The crankshaft drives many parts located outside of the engine block. Disconnect any belt-driven accessories and parts under the hood. These parts, such as the alternator, water pump and power steering pump, increase drag on the crankshaft. Disconnecting them reduces the power needed to dislodge the pistons and allow the crankshaft to turn.
Step 2: Equalize pressure
Use a socket to remove the spark plugs, taking care to number the wires as each is disconnected. You will need to reconnect each wire to its original cylinder when putting everything back together to keep the timing in sync. Removing the plugs releases any pressure within the engine that could push against you as you work to free the pistons.
Step 3: Remove the valve covers
Use a wrench to loosen the restraining bolts holding the valve cover in place on each cylinder head. Remove the covers to expose the rocker arms. Next, remove the nut holding each rocker arm in place and remove the rocker arms. Pull the exposed push rods out of the cylinder head. This step also reduces the resistance you must overcome to turn the crankshaft manually.
Step 4: Turn the crankshaft
Locate the front of the engine block. On a transverse engine, this will be to one side or the other. At the front, you will find either a round harmonic balancer or a pulley that drives a belt. In either case, at the centre will be a bolt head. To this bolt, attach a socket fitted onto a long-handled breaker bar.
Turn the bolt in a clockwise direction to free the engine. If you cannot get the engine to turn, apply penetrating oil to the walls of each cylinder through the spark plug wells. Give the oil a couple of hours to work its way past the piston rings and try again. This process may require several applications over several days.
If the car is equipped with a manual transmission, you can put the car in gear and rock it back and forth using the momentum to rotate the engine.
Step 5: Reassemble
Once the engine is freed, work backward to reassemble the engine, replacing any seals or gaskets uncovered in the process of opening things up. Make sure the battery has a charge, then try to start the engine.
If you can’t get the engine to turn, the damage may exceed simple cylinder rust and you will need to make a decision on whether an overhaul is worth the effort to save the vehicle.
Next, find out more tricks to try when your car won’t start.


