Master the Nuances of Grilling
Most people never use their grills to their full potential, and restaurants that rely heavily on grilling are usually pleased not to demystify the process. Chef Ron Rupert is willing to share some of his secrets. He uses different parts of the grill for their different heat levels, and selects different woods for the subtle yet distinctive flavour they impart.
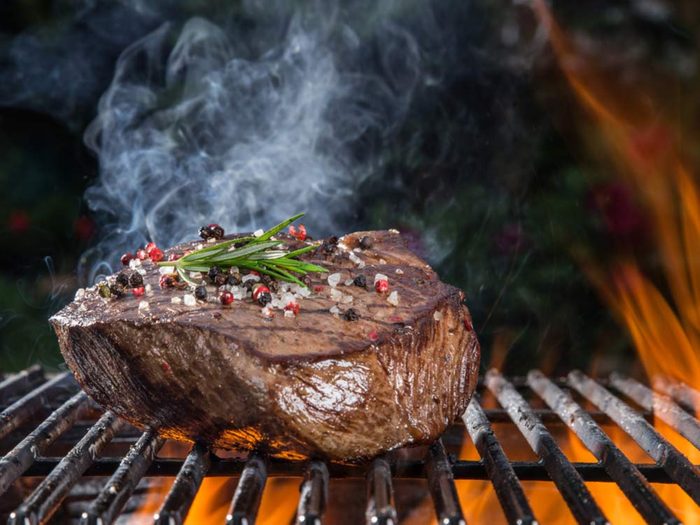
For example, he uses mesquite for a slightly sweet, smoky flavour; when he wants a smokier taste, he burns oak. Also, he says, different woods burn at different temperatures. Mesquite produces a very hot fire, suitable for cooking fish, while oak burns at a temperature favourable for vegetables and meats. For a juicy steak, first sear the meat on a hotter part of the grill, then move it to a medium-hot area to allow the flavours to develop more slowly.

Butter Up Your Grilled Steak
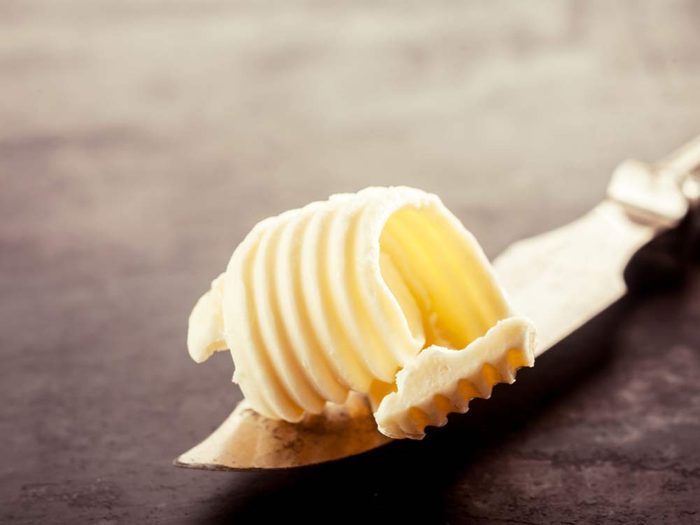
When you order steak in a good restaurant, don’t be dazzled by exotic spices or cooking techniques listed on the menu. There’s an astoundingly simple chef’s secret that provides the knock-’em-dead flavour that you can’t seem to achieve when you grill steaks at home: butter. When you’re grilling at home, as soon as you remove your steak from the grill, shave 1/2 tablespoon butter onto it and let the butter melt. Don’t tell your guests—they’ll wonder how you found the time for cooking school.

Take the Spilling Out Of Grilling
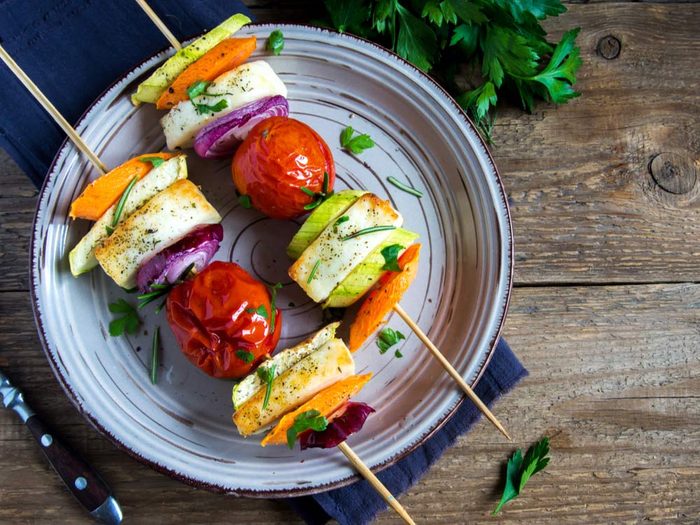
Contrary to what you’ve been told, soaking those cute little wooden shish kebab skewers isn’t enough to keep them from catching fire. Round metal skewers and flat skewers, too, are often ineffective and impractical. Eliminate all three problems with kebab baskets. They’re a kind of long wire box with a lid and a long handle. You put the stuff into the box, close the lid, and place it on the grill or over the fire. The handle allows easy flipping.
Check out these 20 Delicious Summer Grilling Recipes!

Rediscover the Campfire
Before there were grills, there were campfires, and they’re still magical. You can have plenty of fun with a little fireplace in the backyard. (Check your local ordinances to make sure it is allowed.) Here are two methods:
The Pit: Dig a hole about 10 cm deep and 60 cm in diameter, and place some round stones in a circle, very close together, along the edge. A mere 10 or 15 rocks about the size of a softball will do the job-there’s your fire pit.
The Fireplace: If you happen to have flat stones, and more of them, you can build a little fireplace. Pile the rocks on three sides and leave it open on one side to allow you to get at the fire. The stones should be piled high enough to shield the fire from wind without cutting off the air supply.
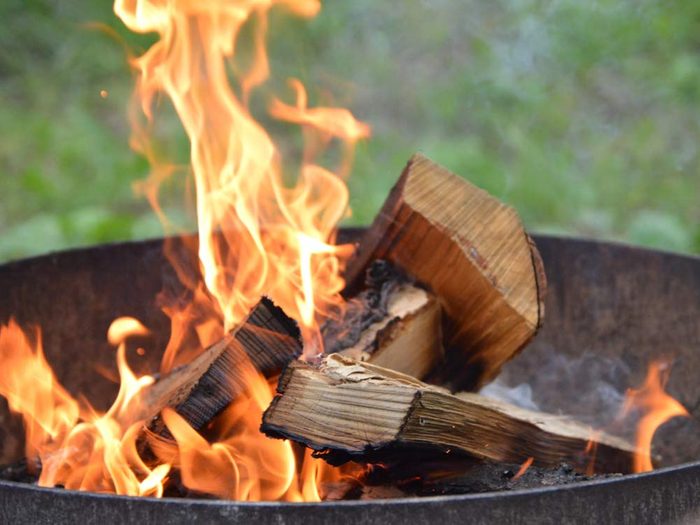
Starting It Up: After you have your fire pit, make the fire. If you’re in the backyard, crumple up some paper (look for bark or dry leaves if you’re in the woods). Loosely arrange small twigs over the paper, bark, or leaves to create a tepee. Add a layer of slightly larger twigs on top of that. Then light the paper. As soon as the twigs have caught fire, start piling on more twigs, using ever-larger ones as the fire gets going. When the fire will burn sticks of 5 cm in diameter, pile on enough so that when they burn down, they’ll create a nice bed of coals. That could take a half hour or more, depending on how big a fire you have.
Cooking Tips: Once you have red-hot coals, it’s time to cook. In keeping with the primitiveness of it, find and cut a couple of nice slim branches. Sharpen one end of one with a jackknife, and poke it through a couple of hot dogs to roast over the fire. Toast a couple of rolls at the same time on the other stick. Add a piece of firewood occasionally if you don’t want the fire to go out. When you’ve had your fill, use the sticks to toast a few marshmallows. Be sure to douse the fire completely when you’re done, even if it looks as if it has gone out. The fire pit or fireplace can be used over and over again.
Grilled watermelon, who knew? These easy grilling ideas will be unexpected hits at your next barbecue.