Why Vermicompost?
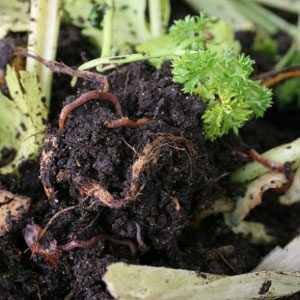
Although table scraps are obviously biodegradable, the lack of oxygen in landfills means they don’t break down properly after you throw them in the garbage. So if you live in an urban area and don’t have a backyard, vermicomposting is a great way to compost your food waste-especially since most municipalities still lack comprehensive composting programs. Once your worms have turned your kitchen waste into compost, you can use it in your houseplants or drop it off at a community composting centre.
Now, keep reading to learn how to create your own vermicompost.

Step #1: Build Your Worm Bin
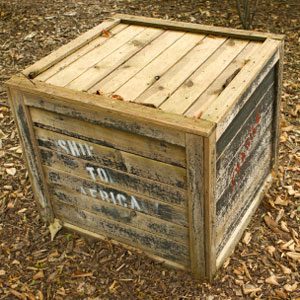
Although you can buy specially-designed vermicomposting bins, your easiest and cheapest option is to purchase a large plastic storage bin or wooden crate. The size of your bin depends on how much waste your household generates, but around 20″ by 30″ is a good place to start. Drill about 10 quarter-inch holes in the bottom, another 10 on the sides, and another 10 through the lid. Prop the bin up on some bricks and place a plastic tray underneath to capture runoff, which can be used as plant fertilizer. Keep the bin in a warm, dry, dark place.

Step #2: Give Your Worms Some Bedding
You want your worms to be comfy, right? Shredded newspaper is the easiest and cheapest bedding, so tear up plenty of newsprint into thin strips, moisten it with water, and fill the bin about three-quarters of the way. Also include some dead plants, coffee grounds, finished compost, and soil to provide your worms with enough nutrients.

Step #3: Get Some Worms
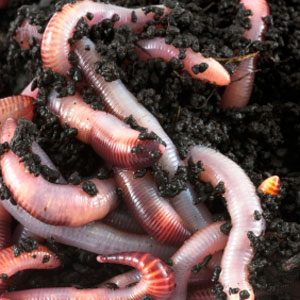
Unfortunately, ordinary garden worms aren’t the best kind for vermicomposting, so you should probably order some. They are available from a variety of retailers across Canada, like Worm Composting Canada, which has a variety of packages available. If you have a friend with a large vermicompost, you could also ask her for some worms to get you started. Experts recommend that your ratio of worms to waste be about 1 to 2; so, for every pound of waste that you generate per day, you need about two pounds of worms.

Step #4: Caring for and Feeding Your Worms
Once you’ve got your worms, distribute them around the bin, close the lid, and leave them alone for a few days as they burrow into the bedding. Then you can start feeding them. Give your worms fruit and vegetable scraps, pulverized eggshells, coffee grounds, and tea bags. Don’t give them meat, dairy, grain products, or cooked food waste.
A few tips: Whenever you feed your worms, cover the food with bedding and make sure the bin isn’t too wet or dry. Don’t overfeed your worms or else the waste will build up and begin to smell. Above all, take good care of your hardworking pets and know that you’re helping the environment. Happy composting!